


Installing mods on your Arma Reforger server is quick and straightforward. This guide will walk you through the full process step by step from finding a mod to launching your server with the correct scenario loaded.
Step 1: Navigate to the Arma Reforger workshop
This is where all Arma Reforger mods are hosted. In this example, we will be installing Freedom Fighters along with it's dependencies.
Search for "Freedom Fighters" and select the main mod created by JohnnyKerner. Once you are on the mod’s page, copy the full page URL and keep this tab open, we will return to it later to retrieve the Scenario ID.
Step 2: Navigate to the community-made tool ARMA Reforger Server Maker
This tool allows us to easily generate the required mod configuration data for the server.
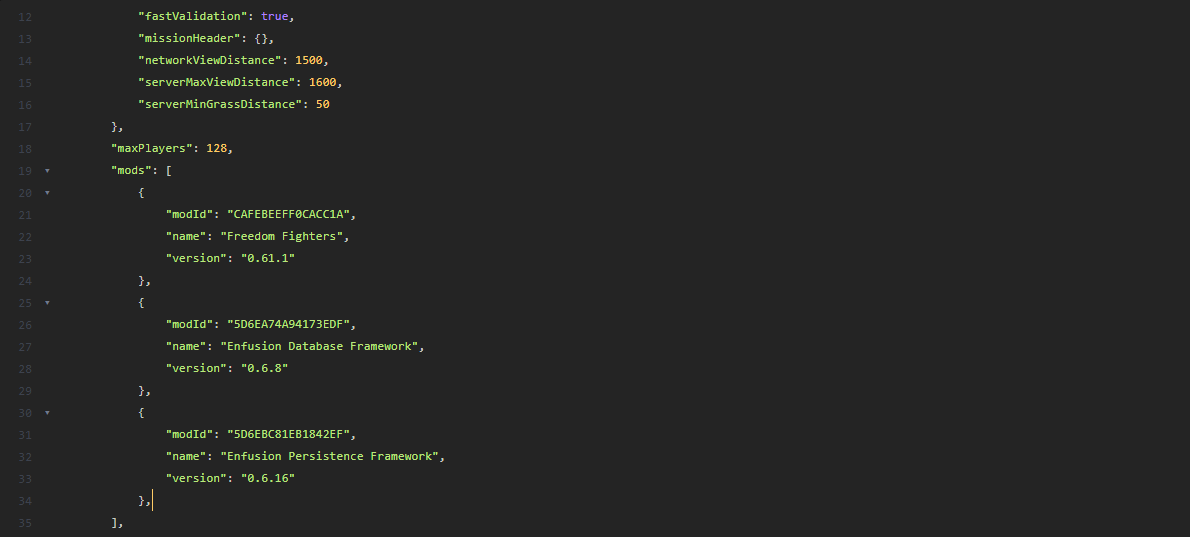
Paste the Freedom Fighters workshop URL into the mod generator. The tool will automatically resolve the mod and any required dependencies, producing JSON output similar to the example below. Copy this entire JSON block to your clipboard, we will need it in the next step.
{
"modId": "CAFEBEEFF0CACC1A",
"name": "Freedom Fighters",
"version": "0.61.1"
},
{
"modId": "5D6EA74A94173EDF",
"name": "Enfusion Database Framework",
"version": "0.6.8"
},
{
"modId": "5D6EBC81EB1842EF",
"name": "Enfusion Persistence Framework",
"version": "0.6.16"
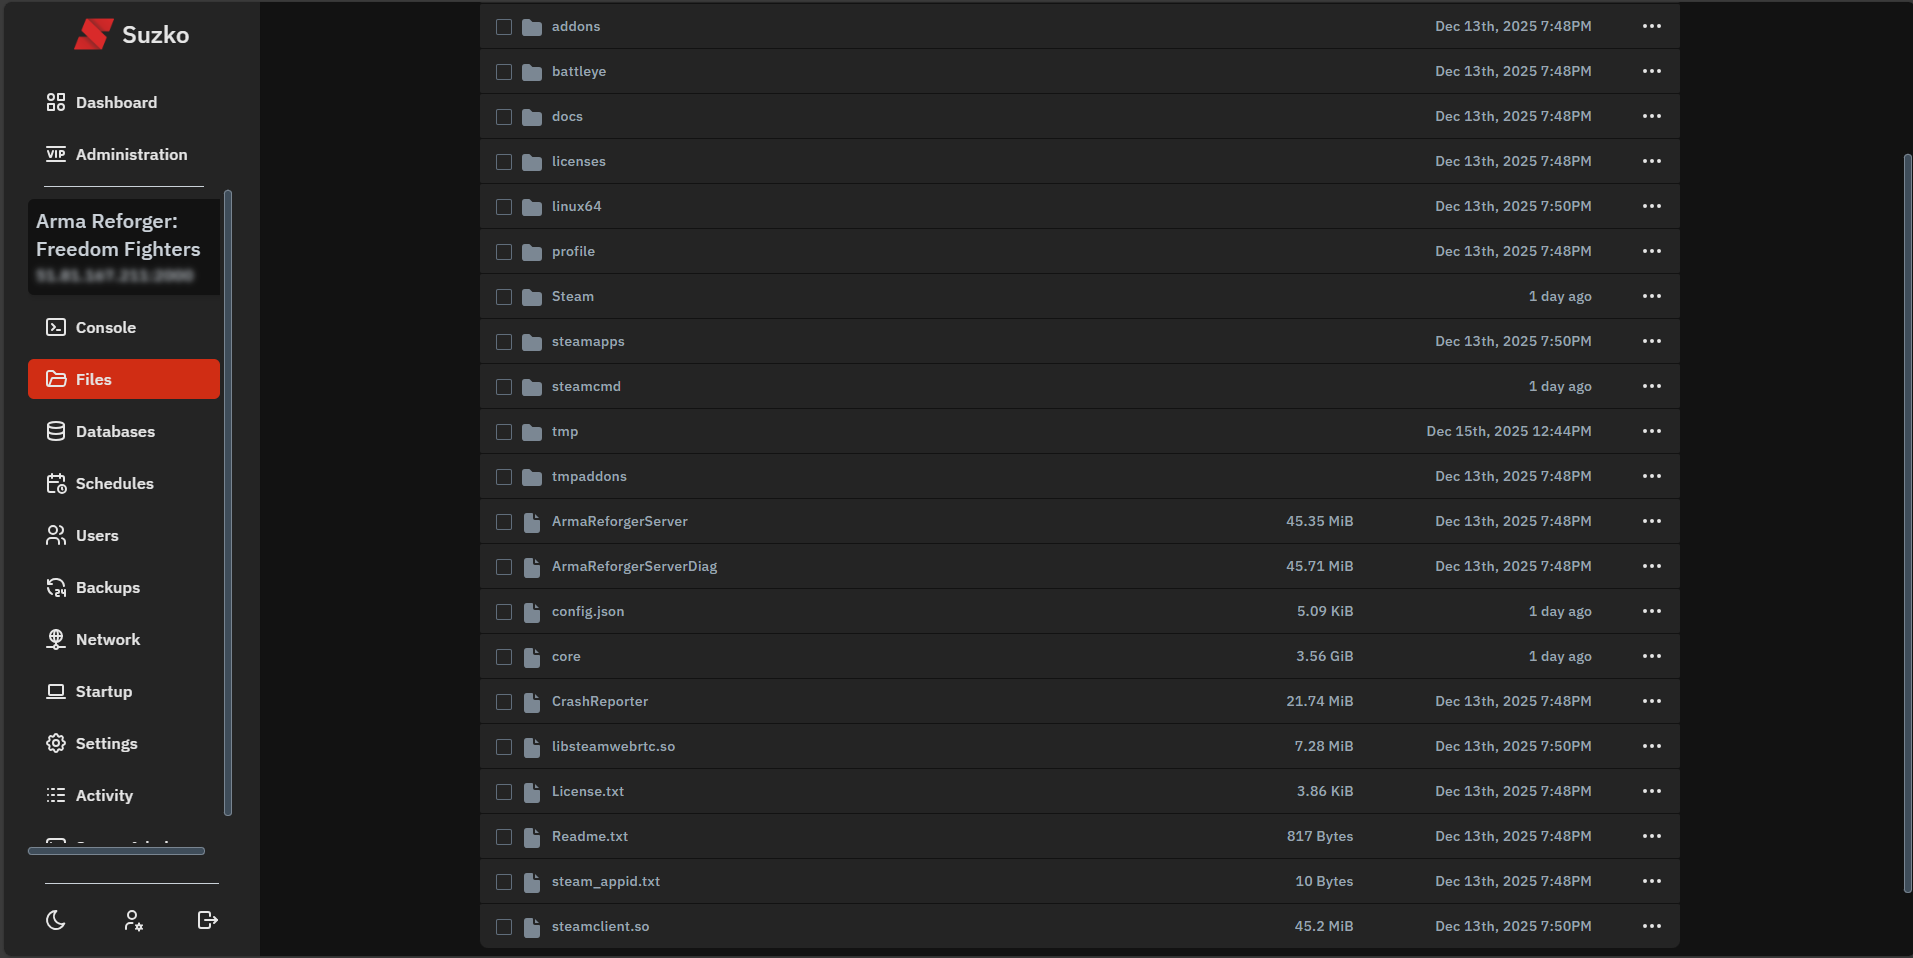
},Step 3: Navigate to the "Files" tab in the game panel and locate your config.json file
Open the config.json file and scroll until you find the following section:
"mods": []
Click between the square brackets and press Enter to place them on separate lines. Then paste the JSON mod data you copied from the Server Maker tool directly inside the mods array.
Step 4: Navigate back to the Freedom Fighters workshop page
Now that your mods are configured, return to the original Freedom Fighters workshop page that you kept open earlier.
Locate the "Scenarios" tab. This section lists all available maps supported by the Freedom Fighters mod.
For this example, we will use the Everon scenario. Copy the Scenario ID exactly as shown. In our case, it is: {64B2F8D8059EE270}Missions/FreedomFighters/Everon.conf
Step 5: Navigate to the "Startup" page in the panel
Return to your game panel and open the Startup tab.
Paste the Scenario ID you copied into the Scenario ID field. This tells the server which map and game mode to load on startup.
Step 6: Start or restart the server
That’s it! Start (or restart) your server to apply the changes.
If everything was configured correctly, your server will now launch with the Freedom Fighters mod and selected scenario loaded.
Vive la révolution!

